Power DJI Transmission internally
Required Parts
- VBatt Power Cable with connector of your choice.
Open Up the front of the DJI Tranmitter and loosen the Screws holding on the Back Plate.
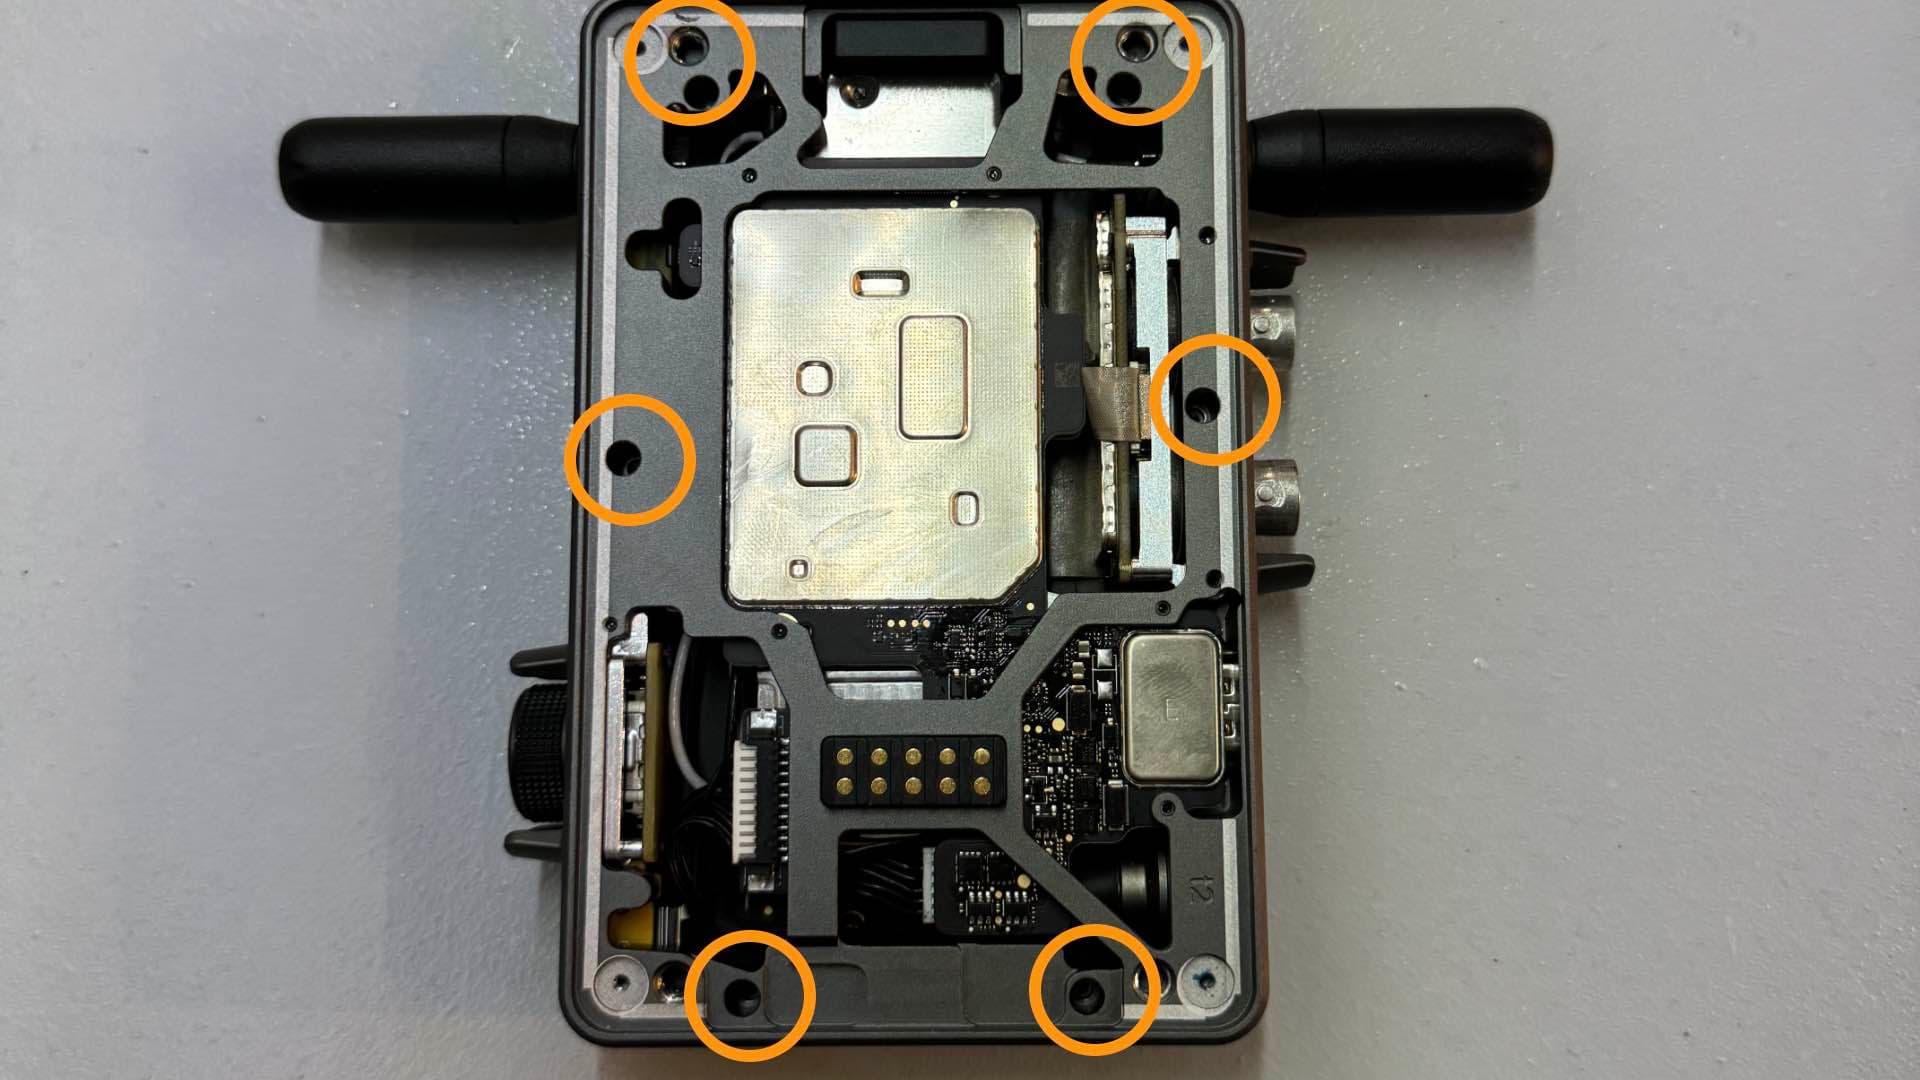 Open Front
Remove the Back Plate and locate the internal connector connecting the LEMO Power connector to the PCB.
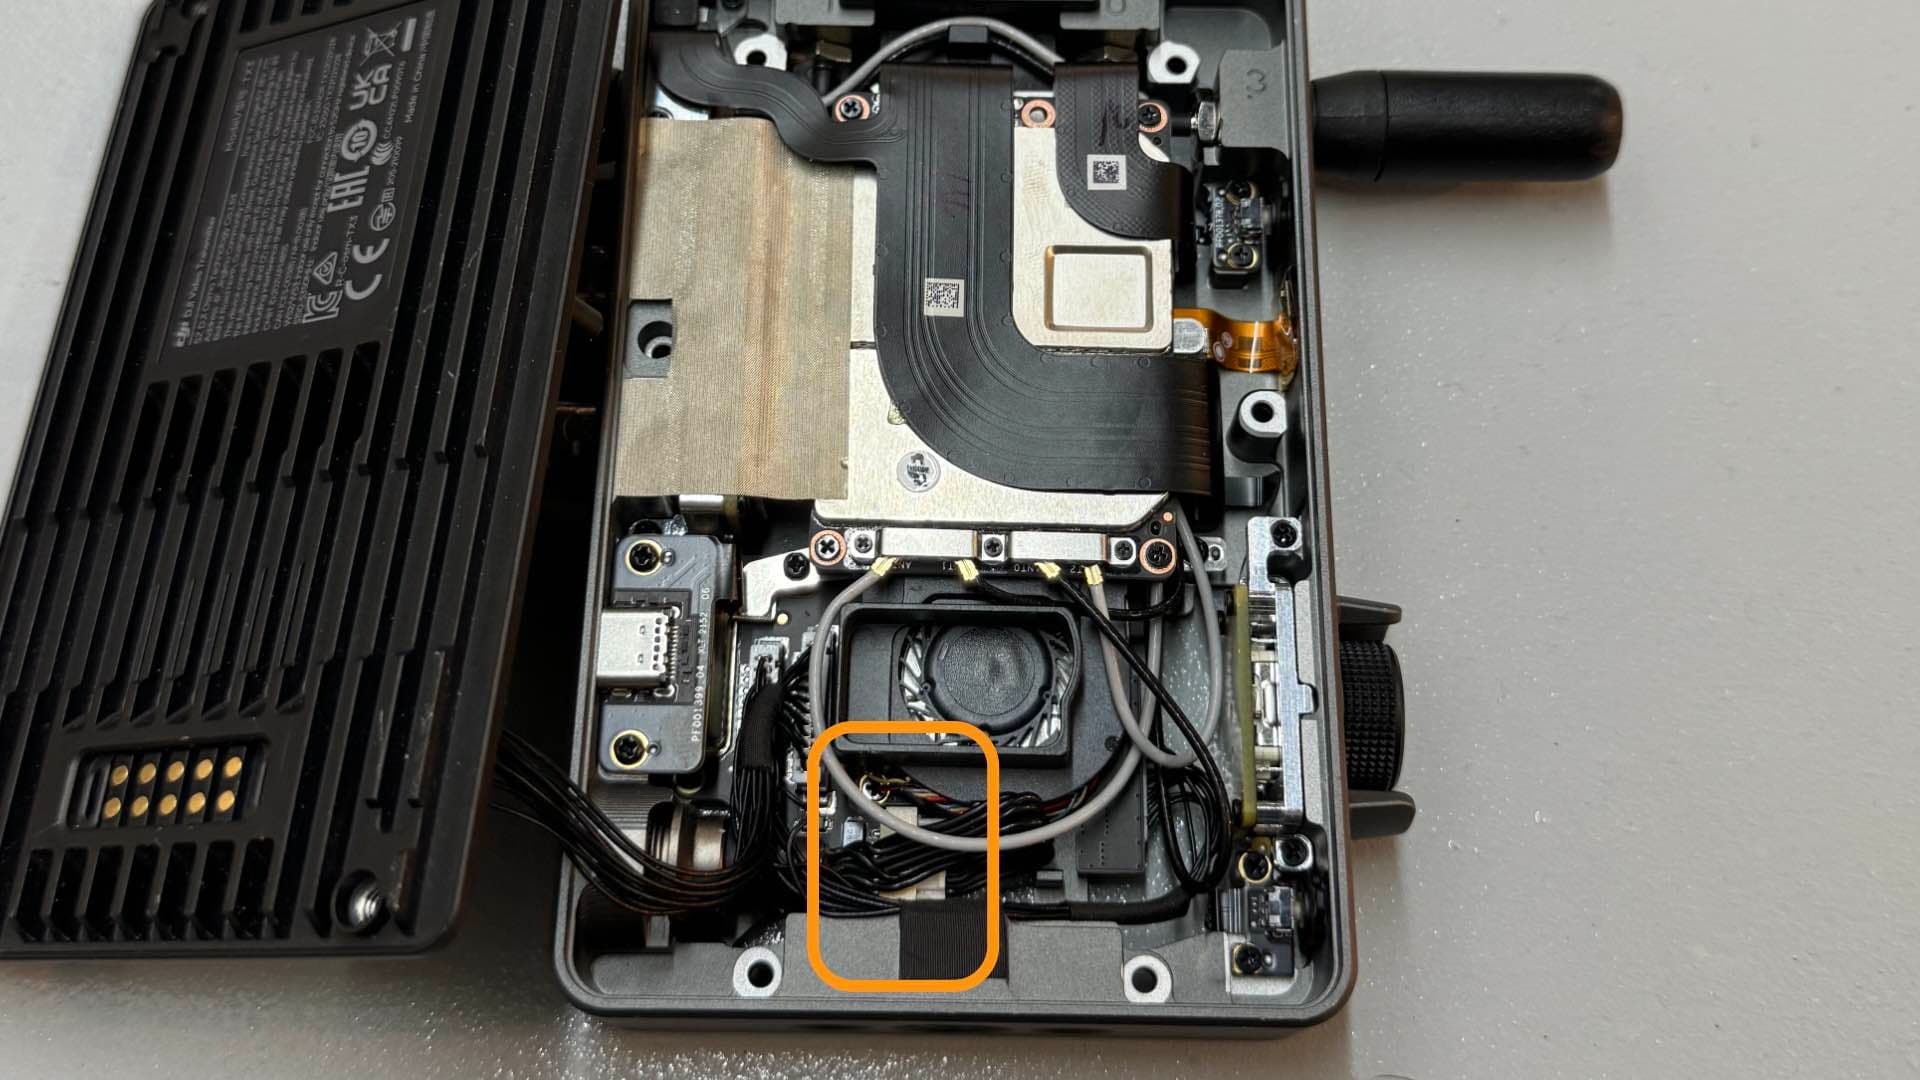 Open Back
Remove the Connector from the PCB. To do so, press down on the small plastic tab and pull the connector out.
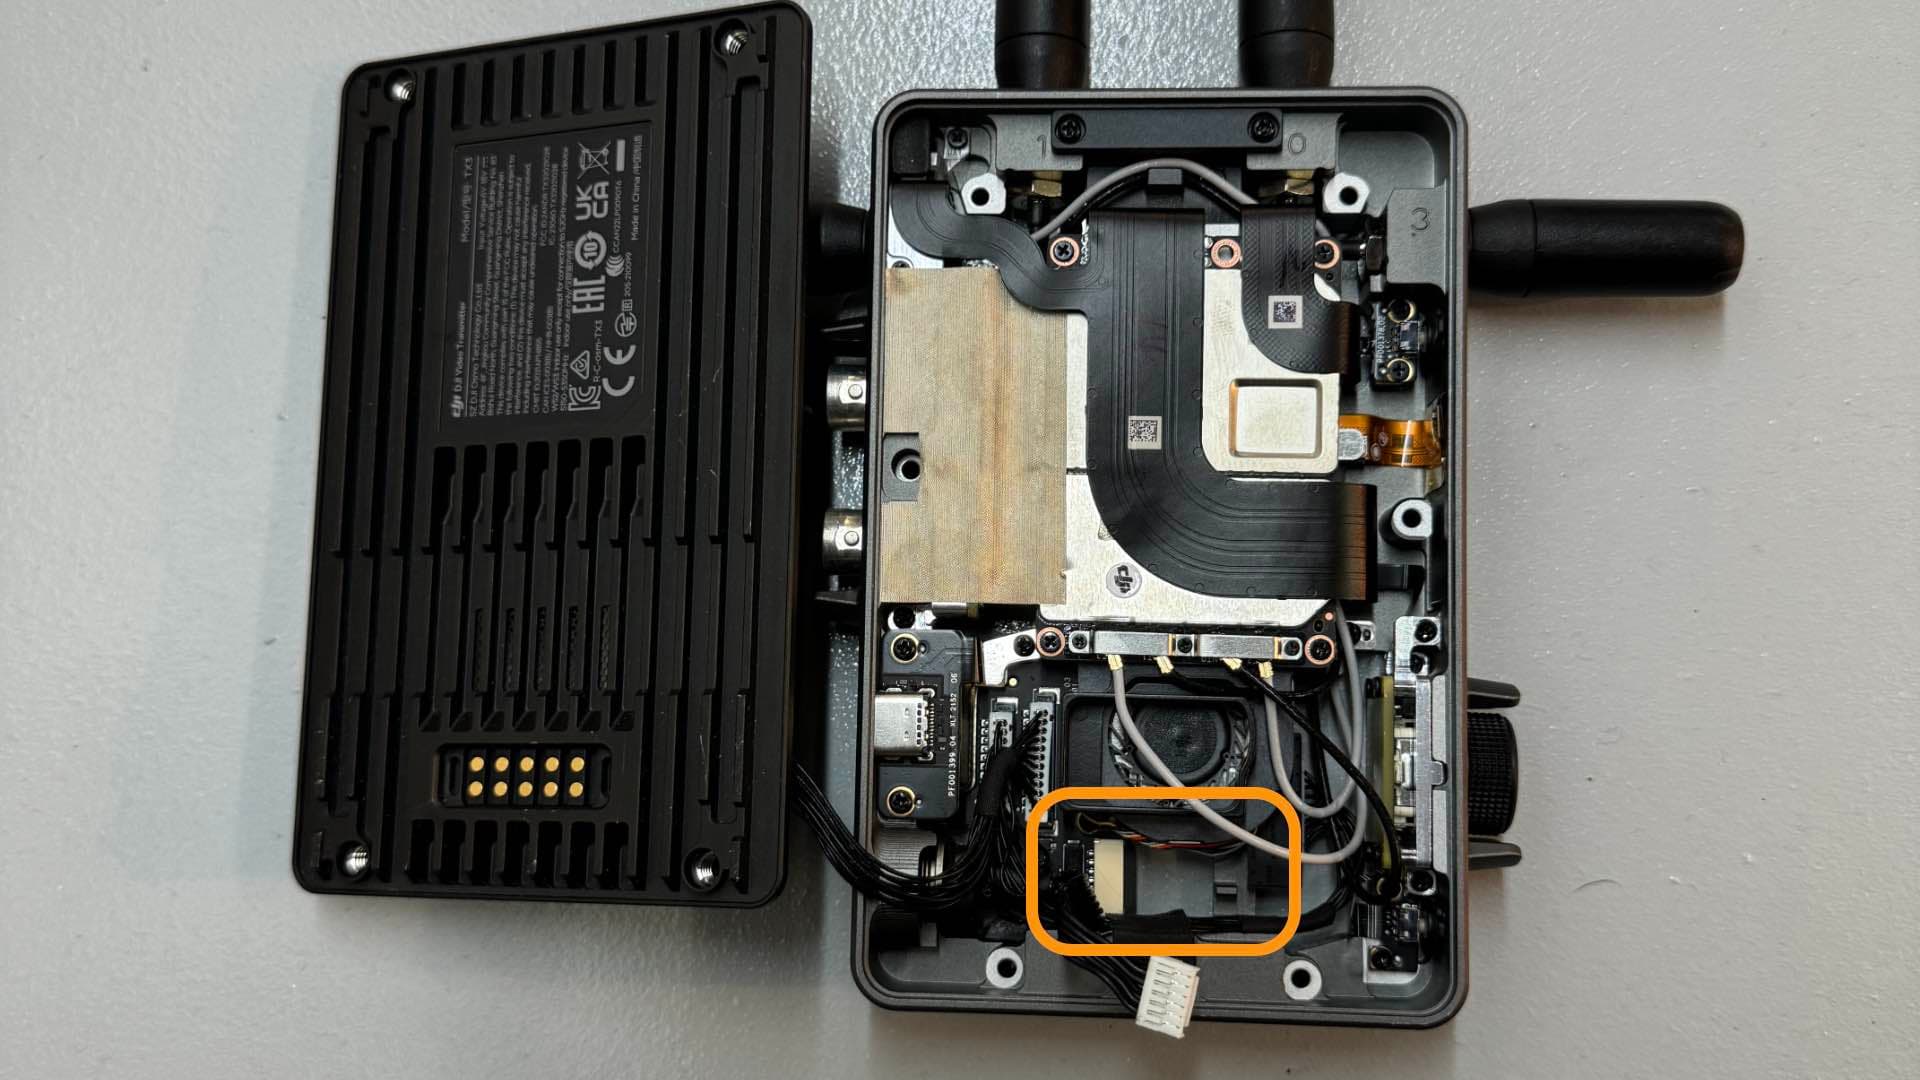 Disconnect Lemo Power Connector
Prepare the new JST GH1,25 Power Lead. You will only need 4 of the 6 Pins. The two outer pins are not used.
For our units we used the following pinout, but it might be different for your unit. Please check with a multimeter before connecting the power lead.
- Pin1: n/a
- Pin2: n/a
- Pin3: 12V
- Pin4: 12v
- Pin5: GND
- Pin6: GND
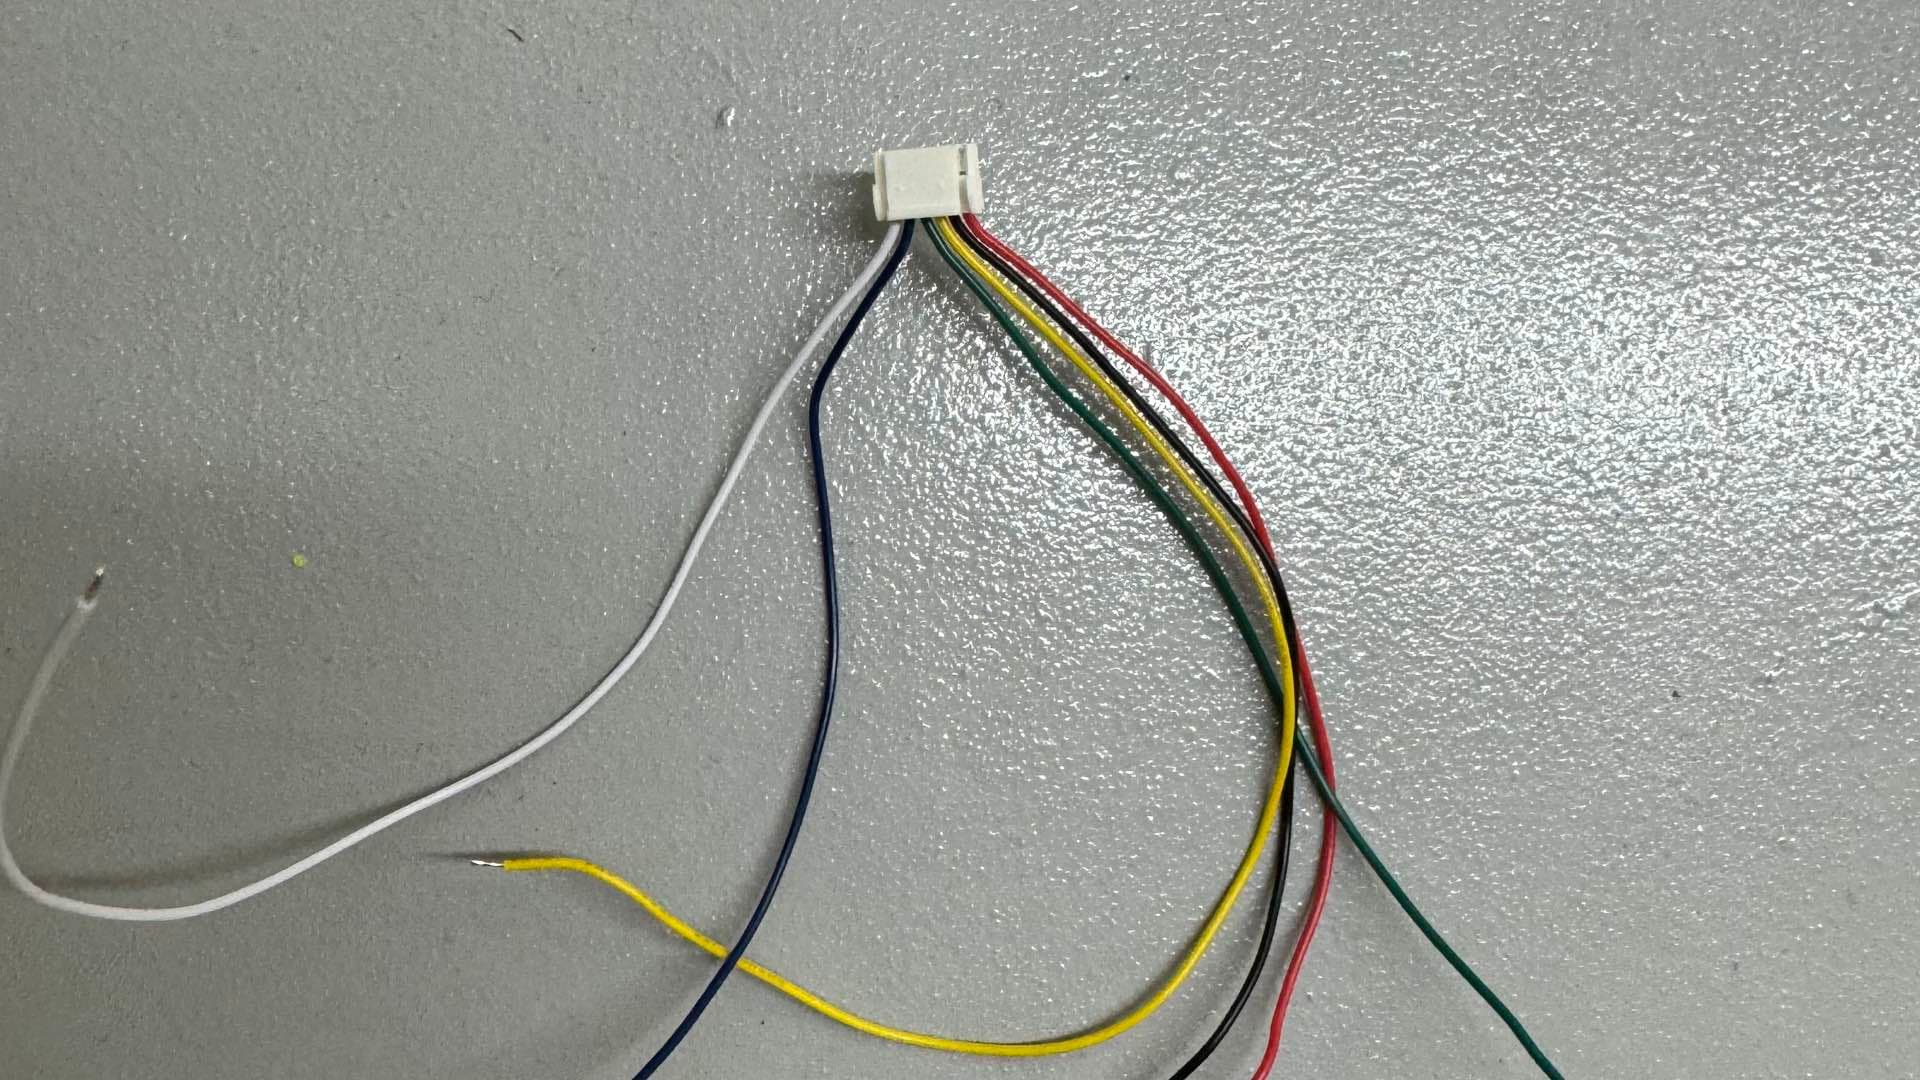 Power Lead
Connect your Power Lead to the PCB. Make sure to connect the 12V Pins to the 12V Pins on the PCB and the GND Pins to the GND Pins on the PCB.
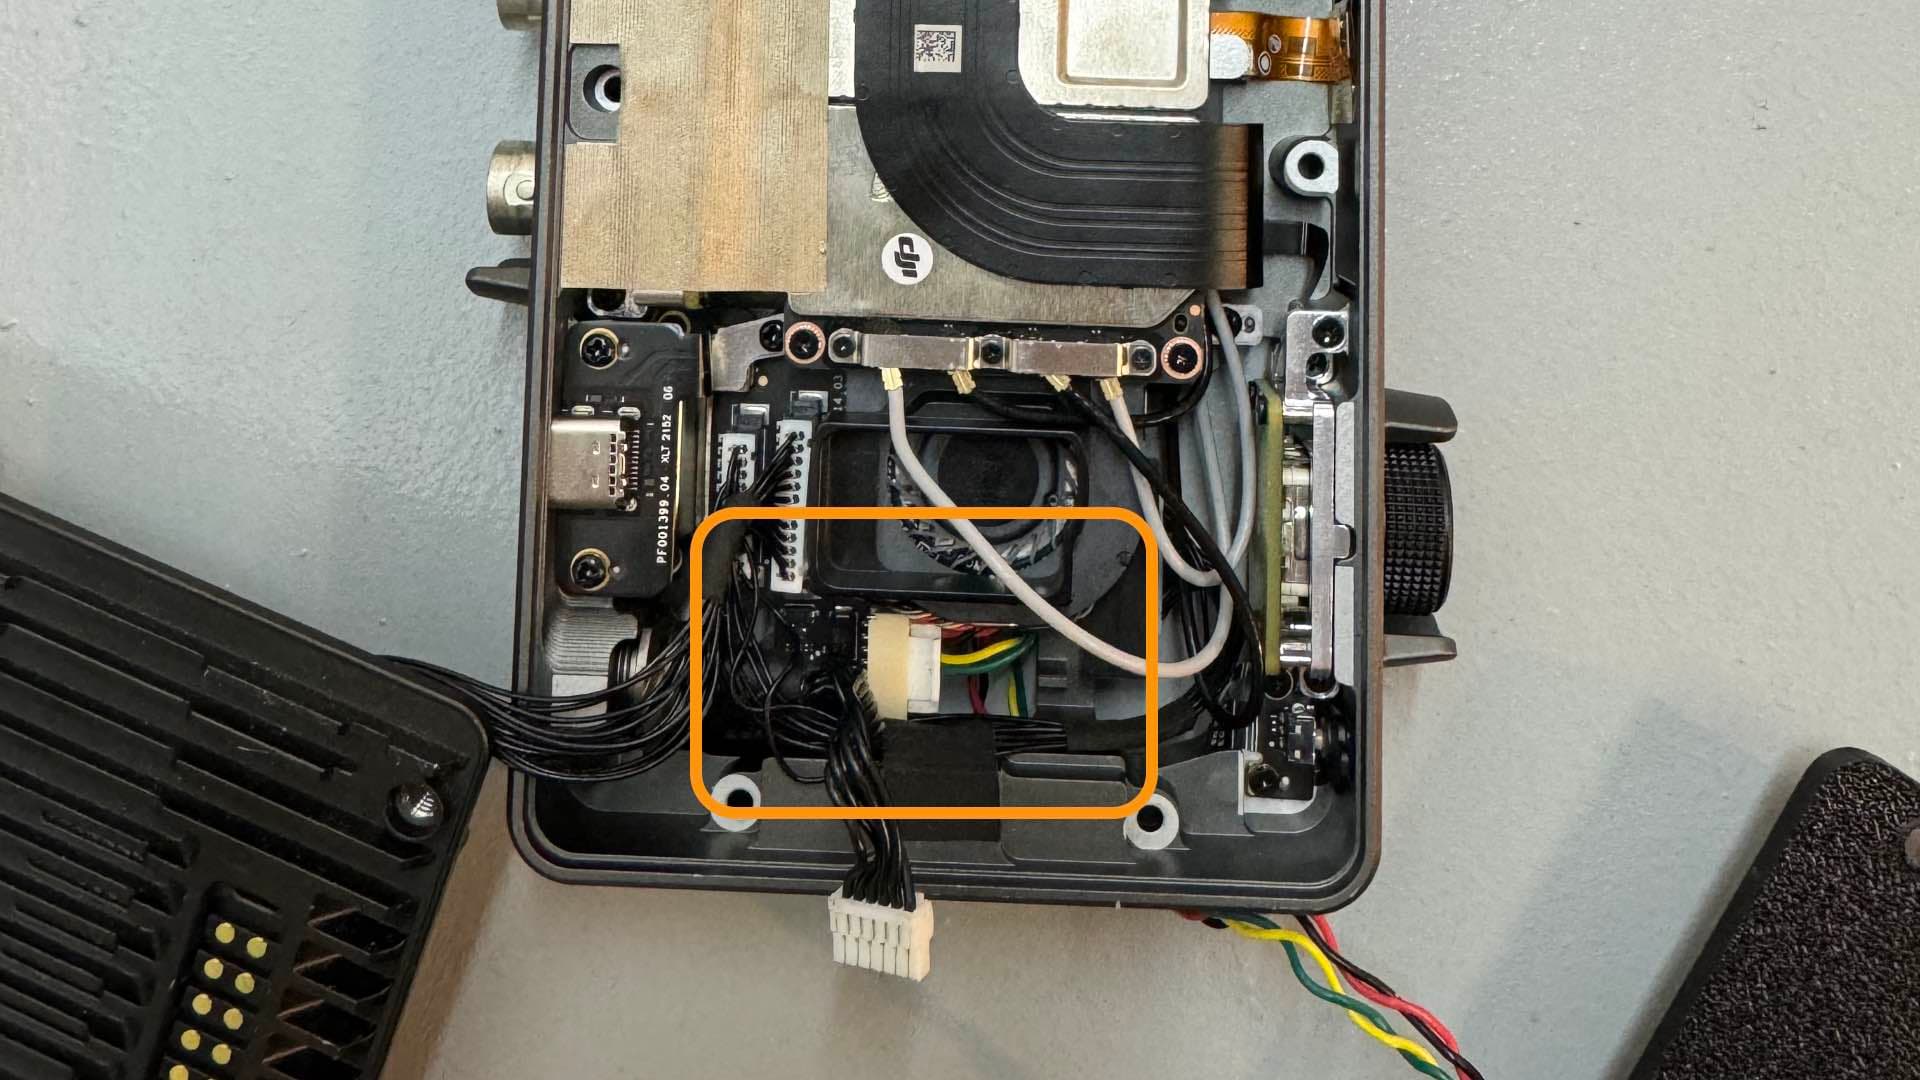 Connect Power Lead
Turn your Transmitter unit around to make sure the connector is properly seated.
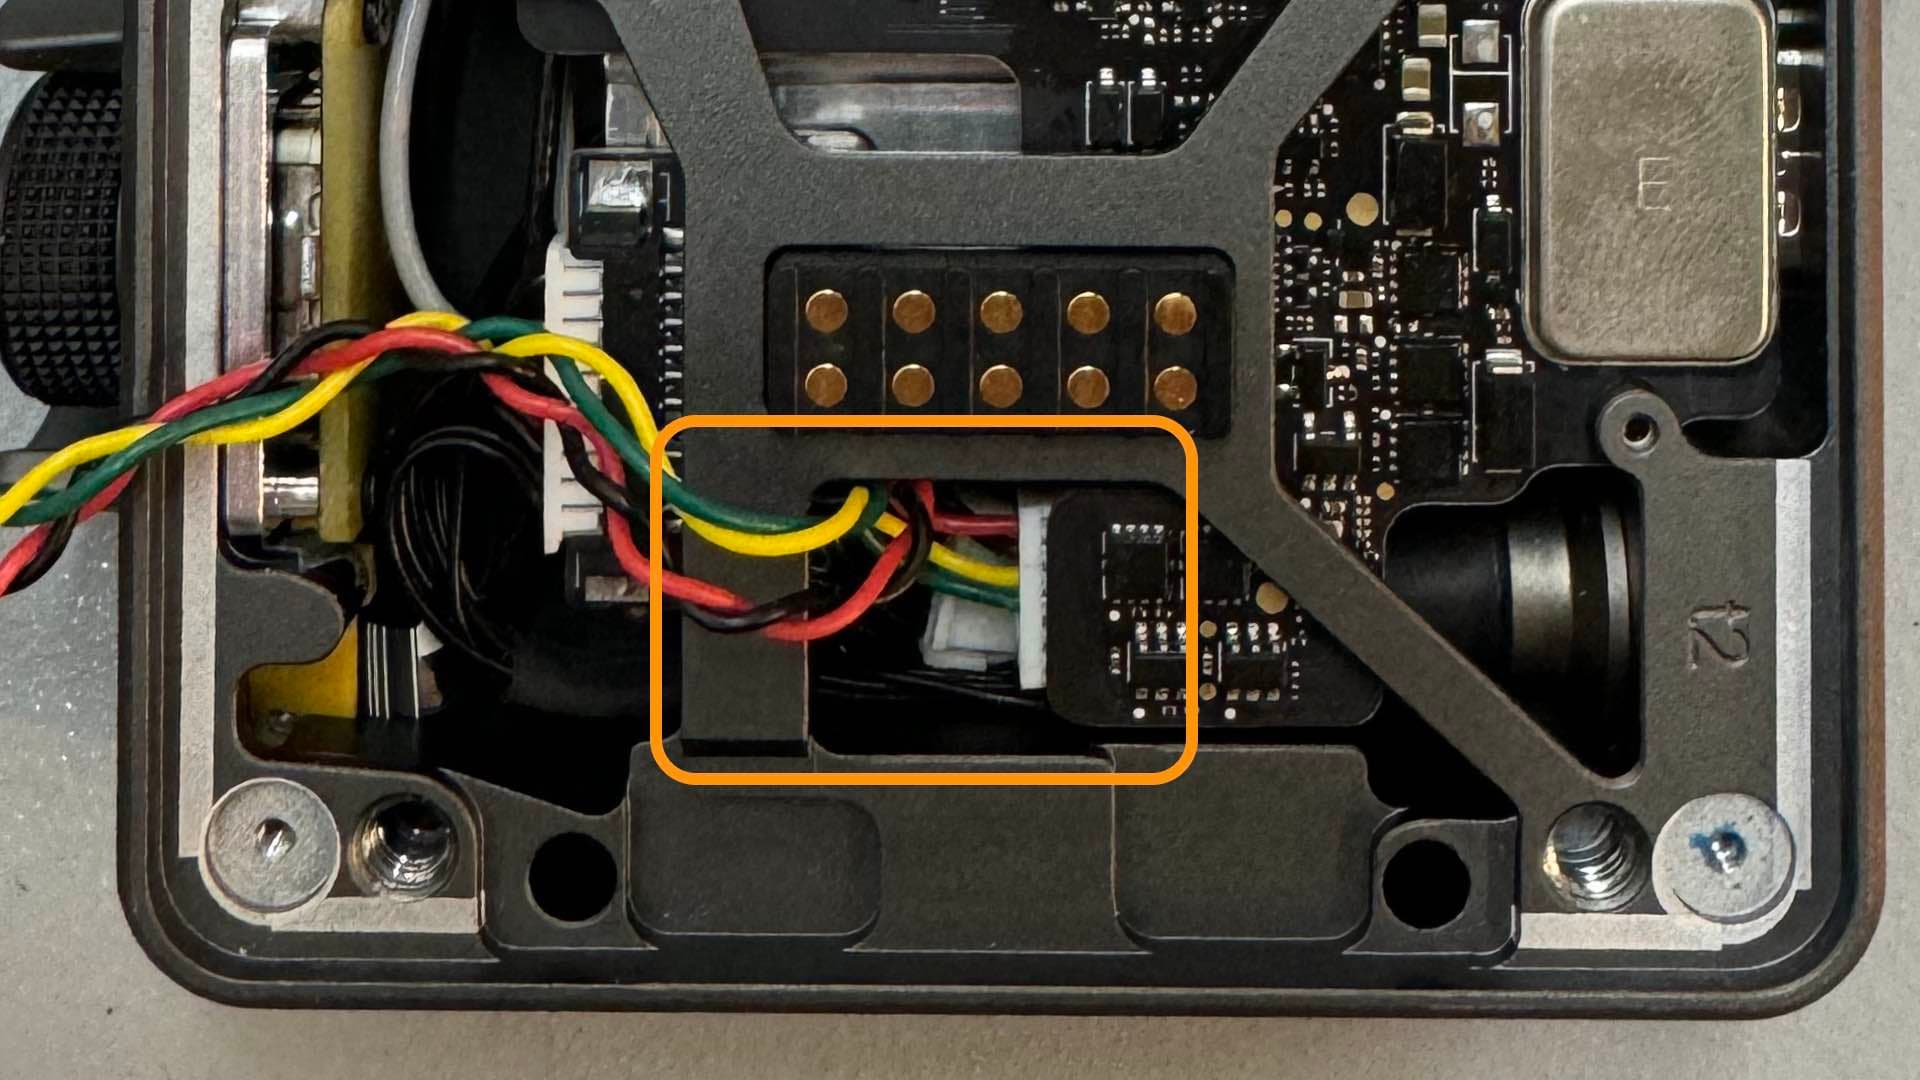 Front View of power lead
Prepare your BEC, Komodo Power Cable and VBatt Power Cable.
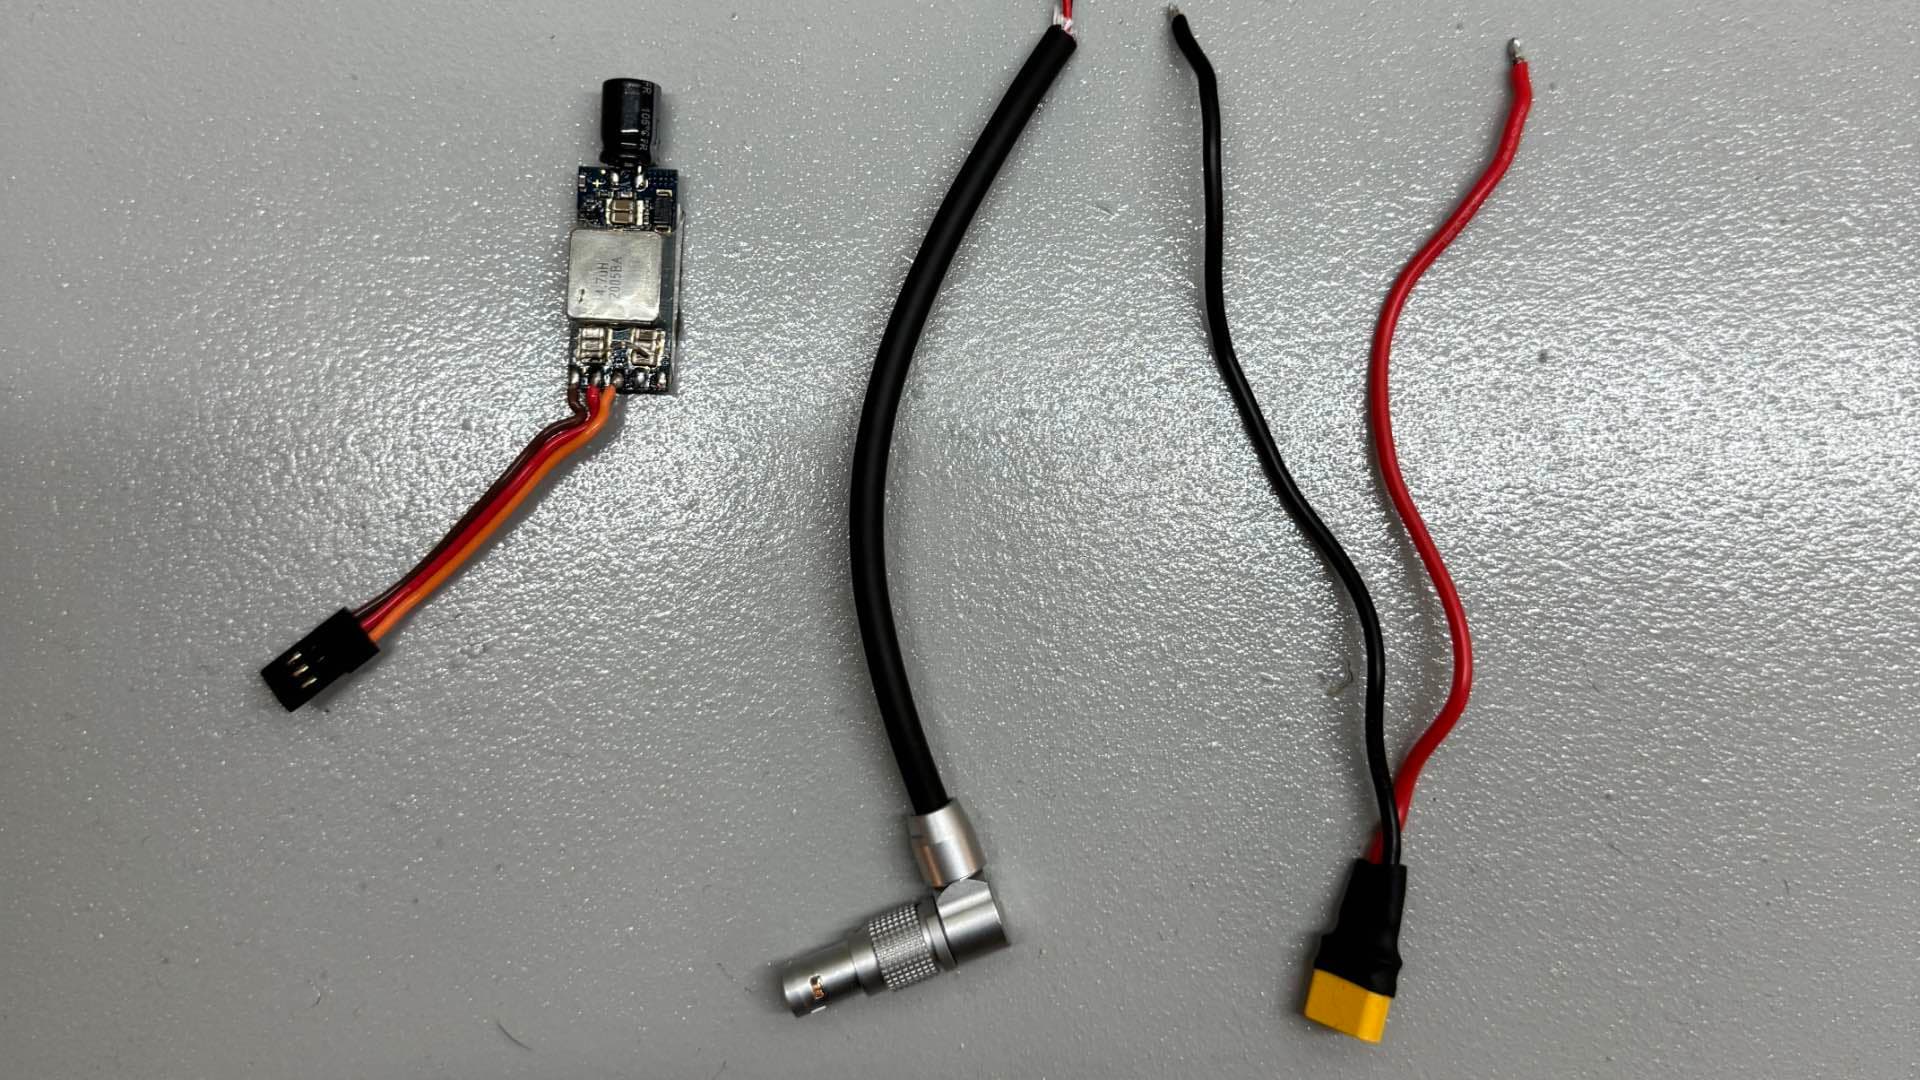 Prepare Power components
Feed your komodo power cable and your VBatt power cable through the hole in the mount.
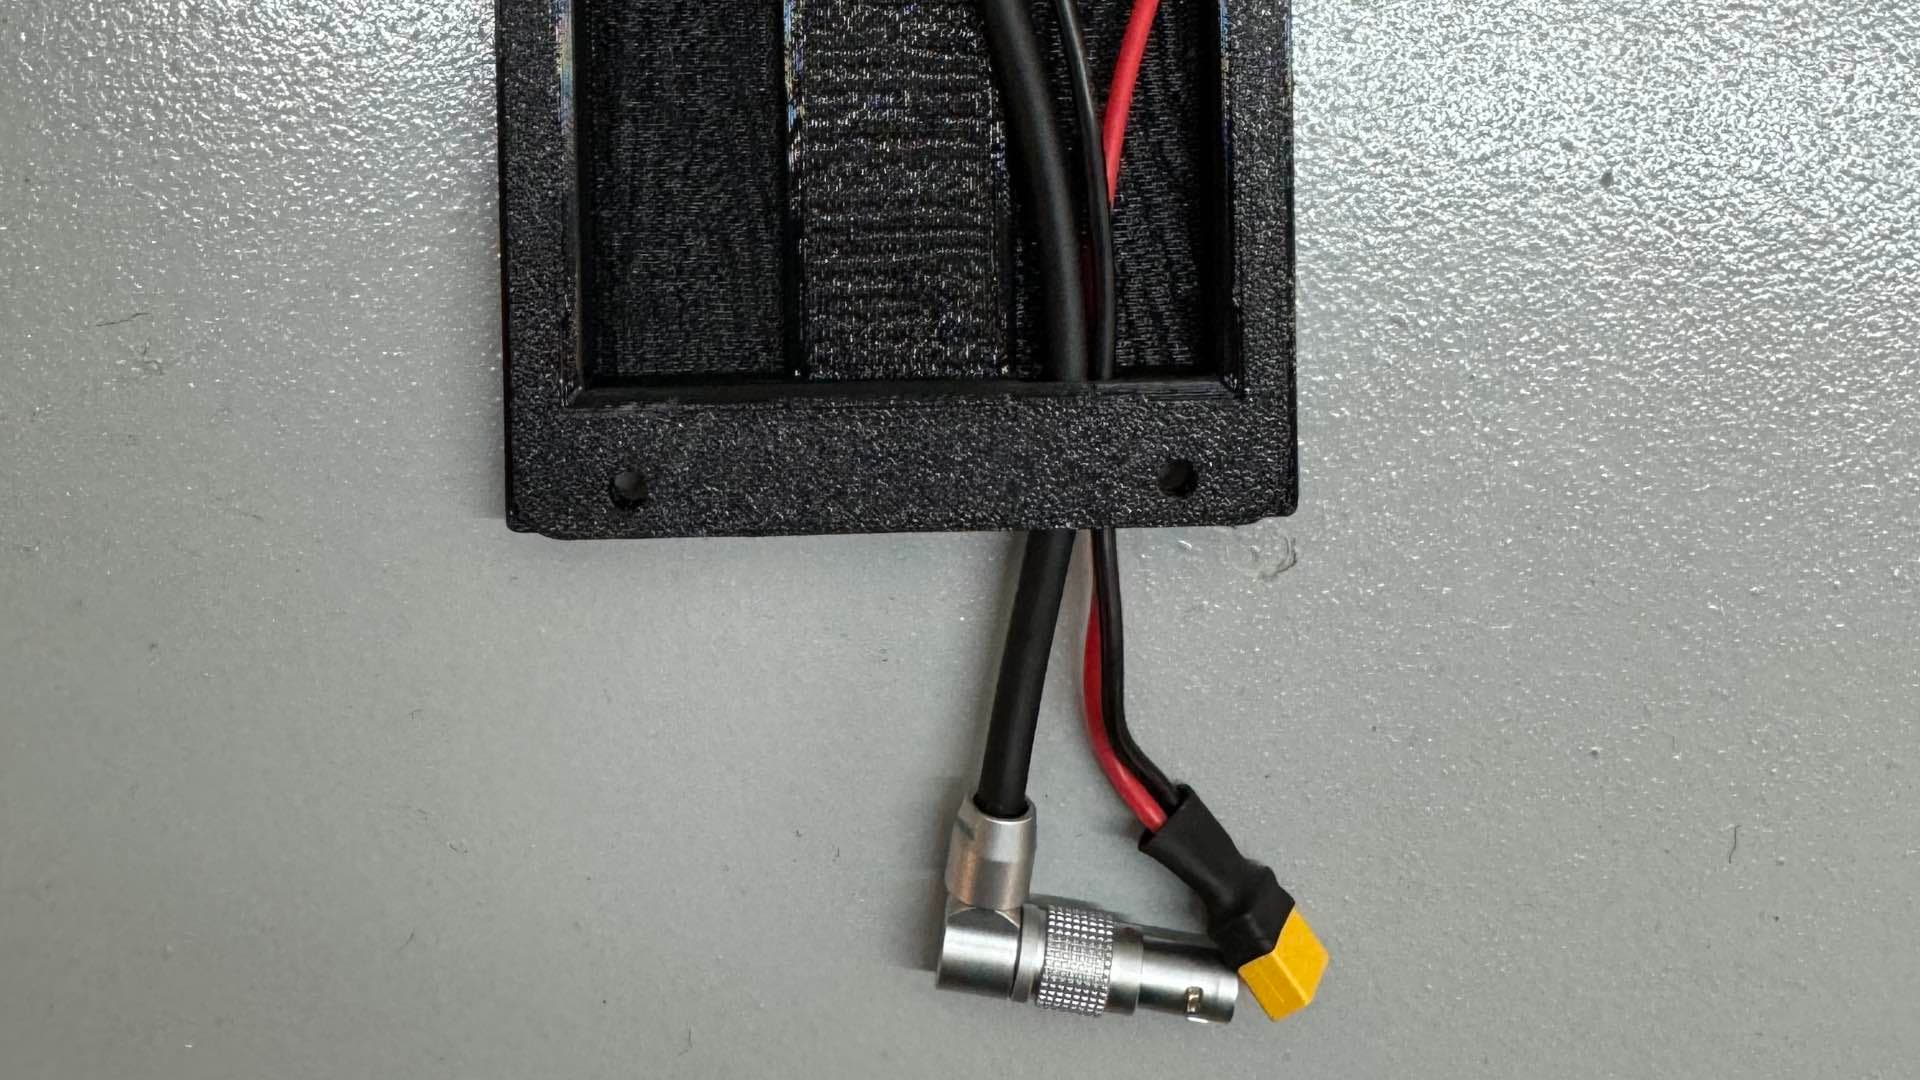 Feed Cables through the mount
Wire up the BEC to the Komodo Power Cable and the VBatt Power Cable. With the Caste Creations BEC, you might need to change it's output setting to 12V first.
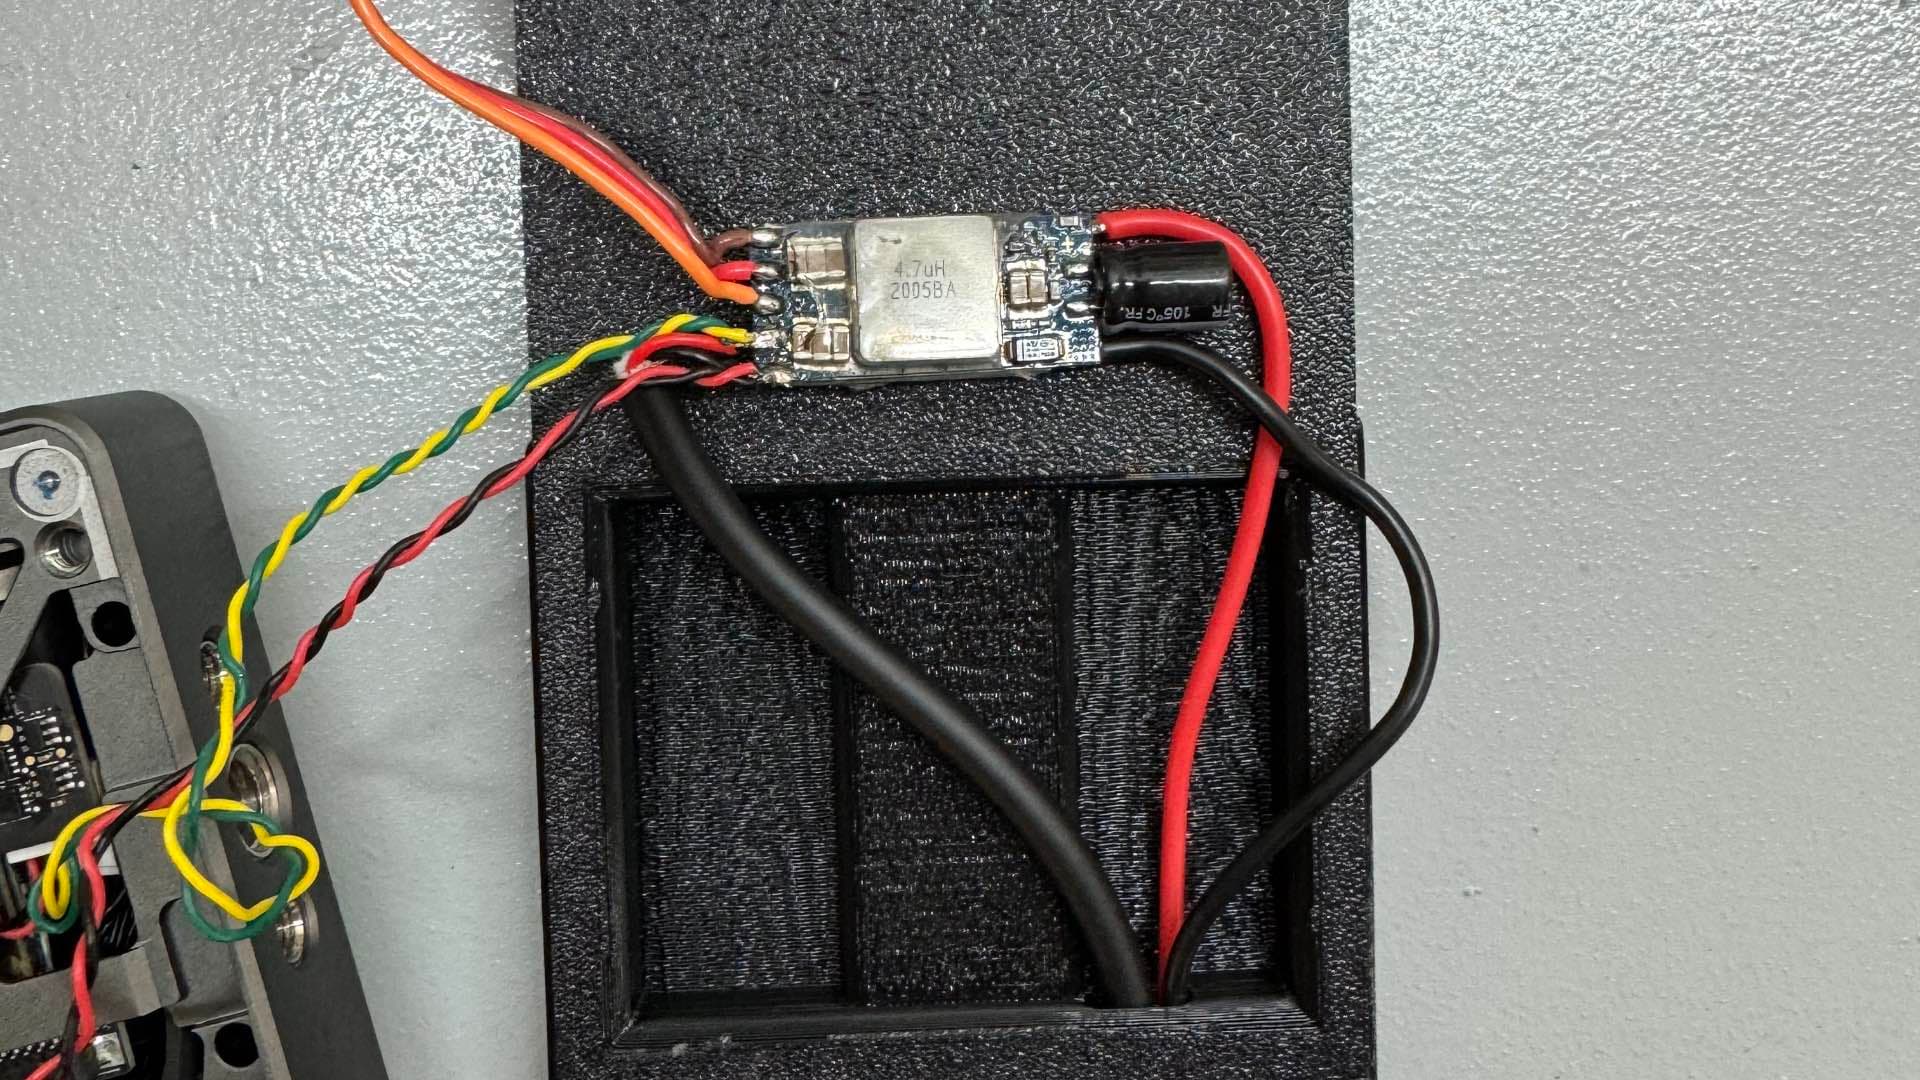 Wire up the BEC
Place the BEC in the Mount. Make sure to keep a bit of slack on the cables and leave room for the Transmission Pogo Connector.
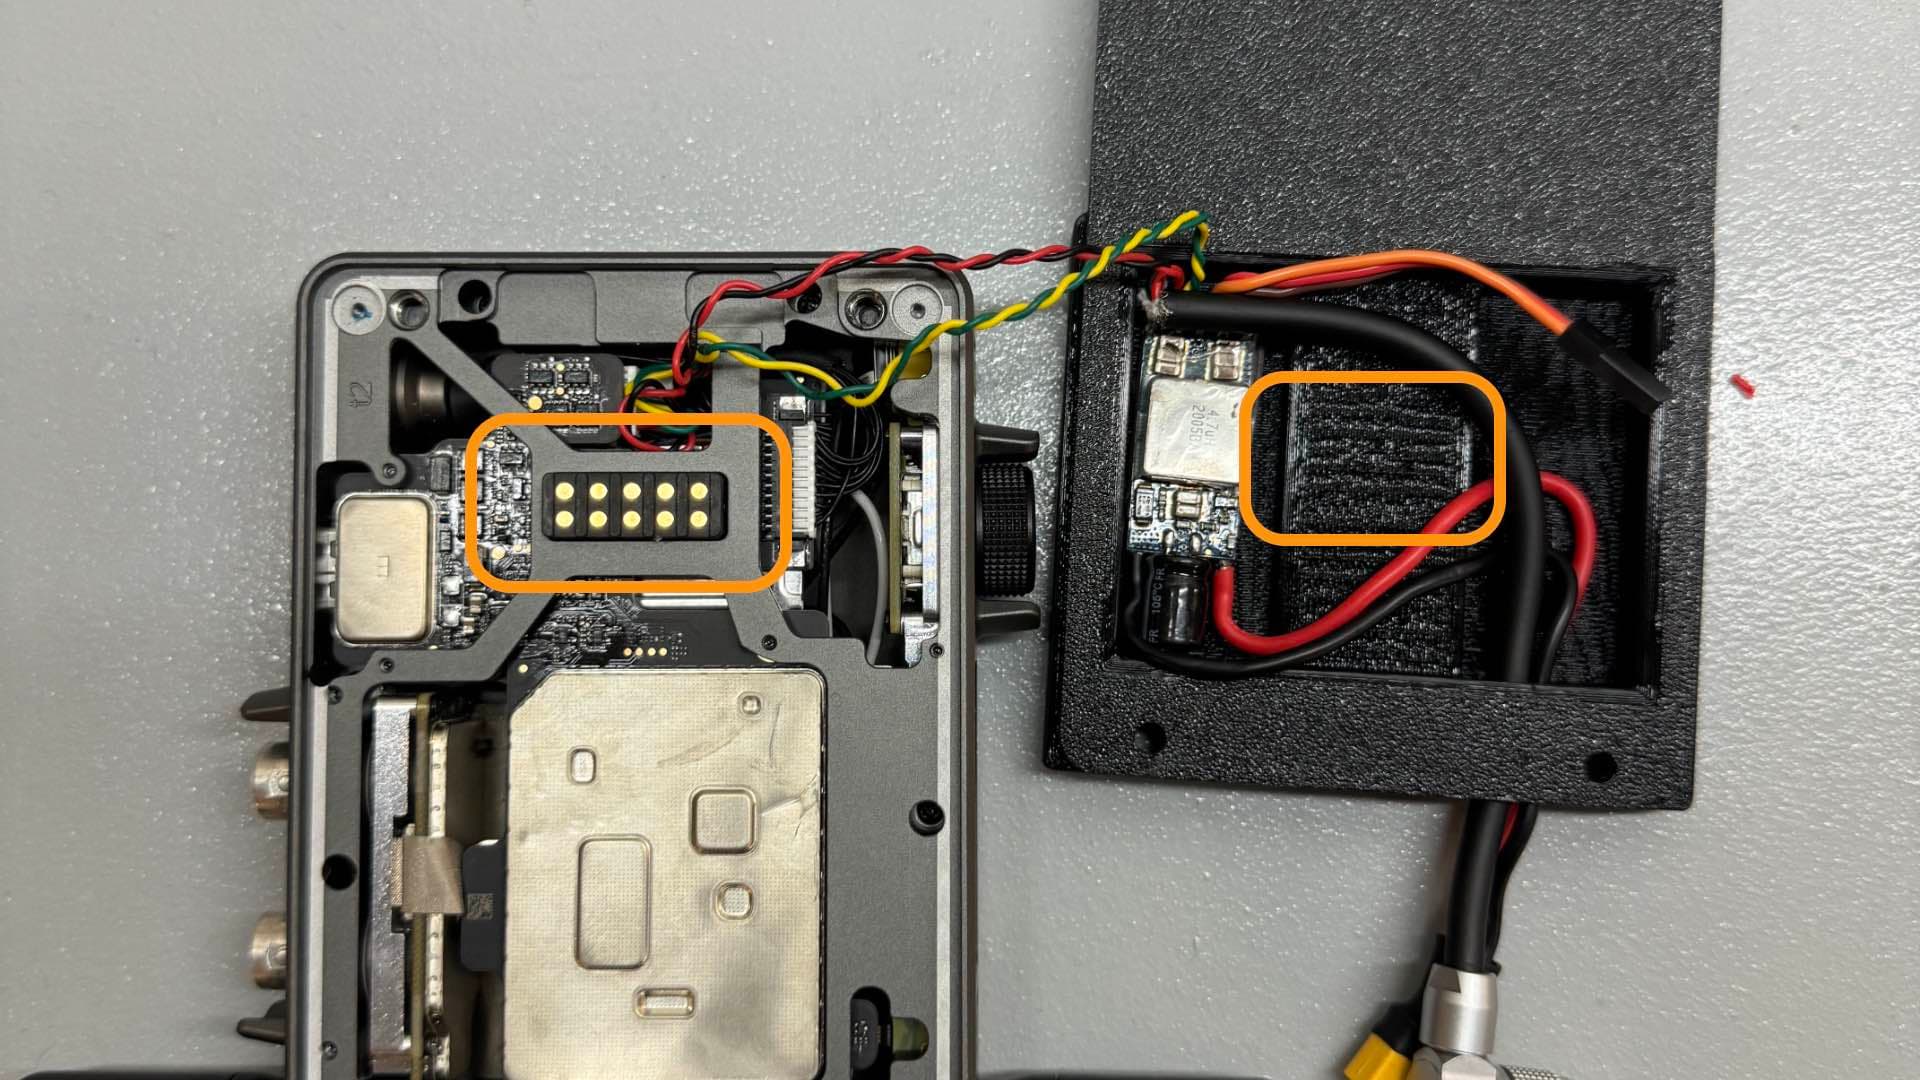 Place BEC in the Mount
Place the Mount on the Transmitter while making sure to not pinch any cables.
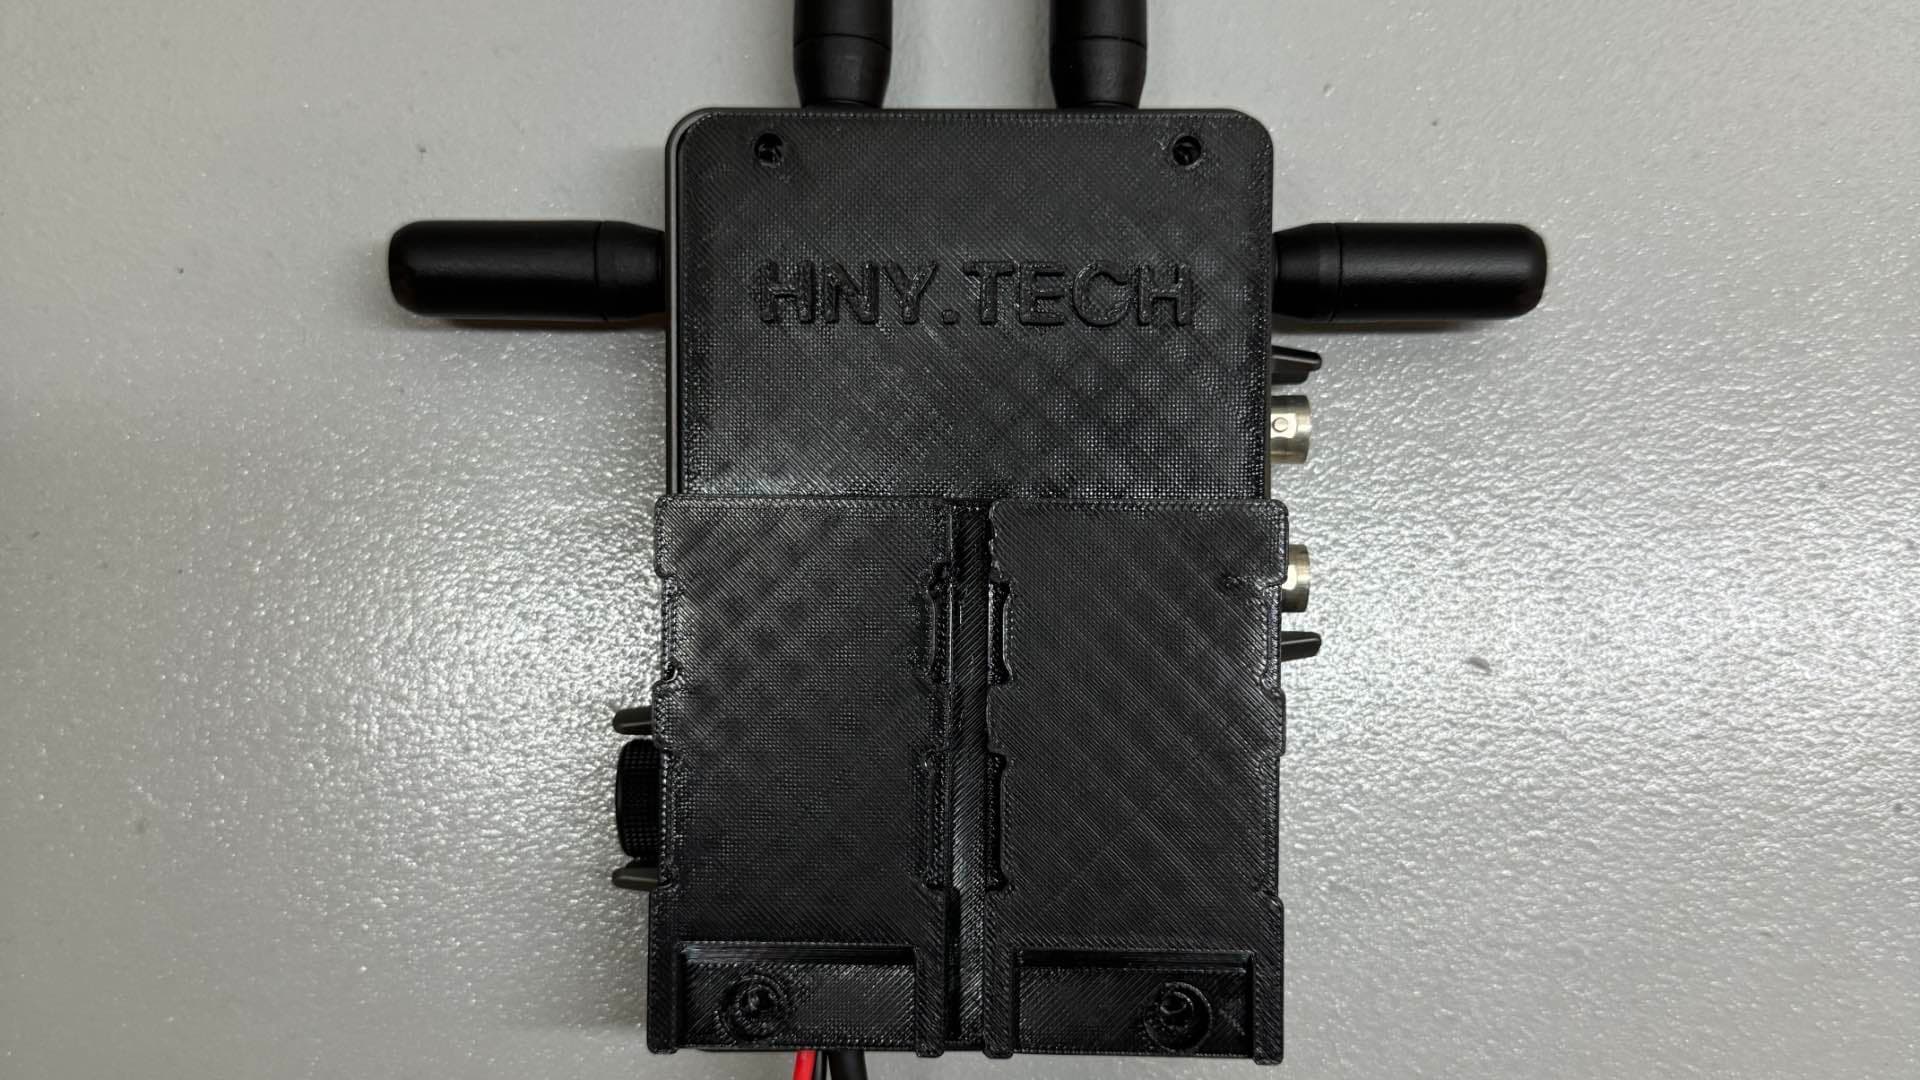 Close the case
Srew on the Mount to the Transmitter and slide it onto the Camera. Connect the Komodo Power Cable to the Komodo and the VBatt Power Cable to your Battery.
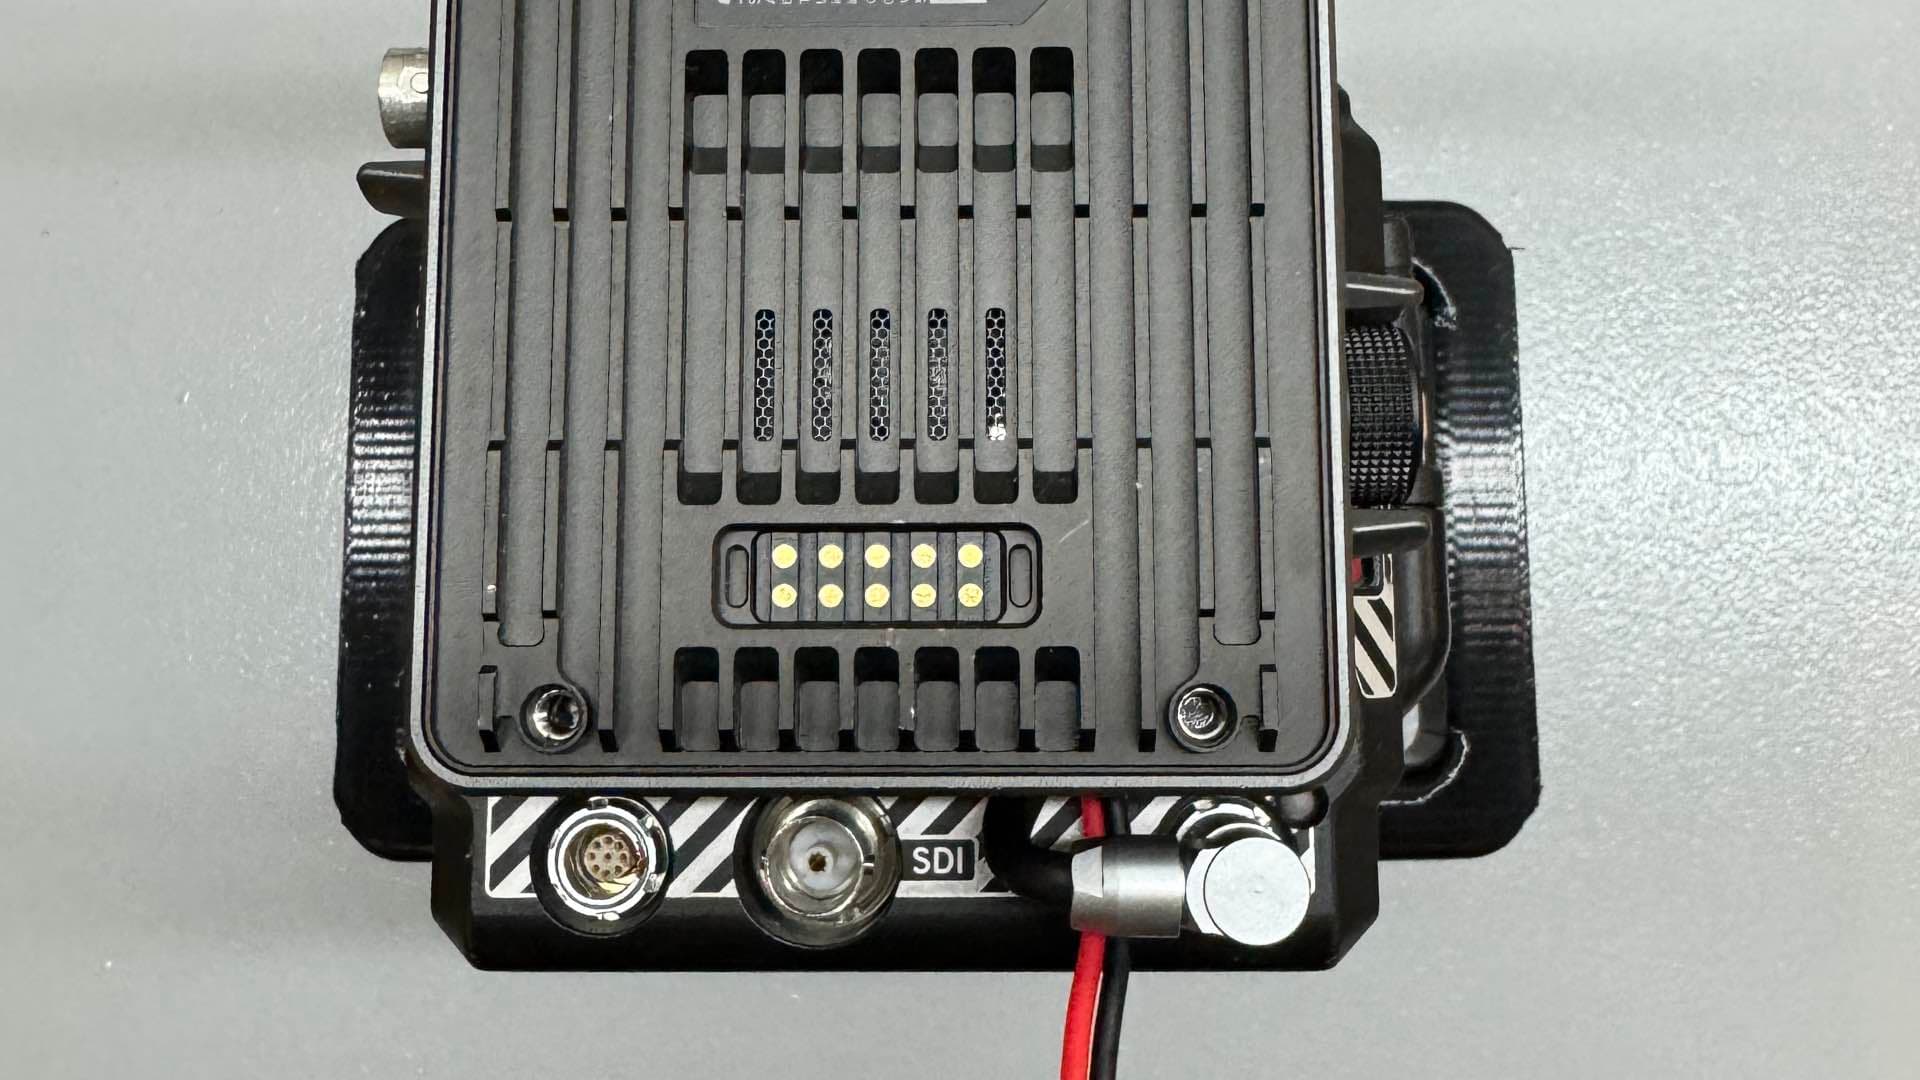 Mount to your Camera